Wormhole Airdrop Guide
Overview
Step 1: Accessing the Portal Bridge
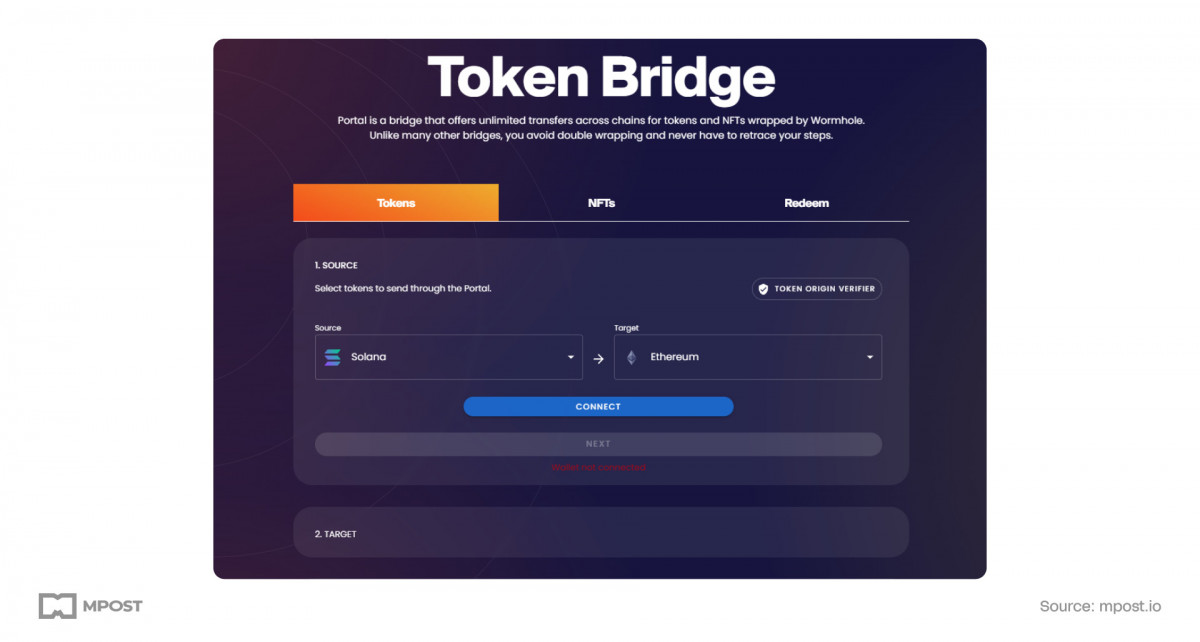
- Start with the official Portal Bridge by Wormhole.

- If you encounter an error when accessing the site, use a VPN.
Step 2: Switching to Advanced Tools
- On the Portal Bridge site, switch to the advanced version by clicking on the “Advanced Tools” button.
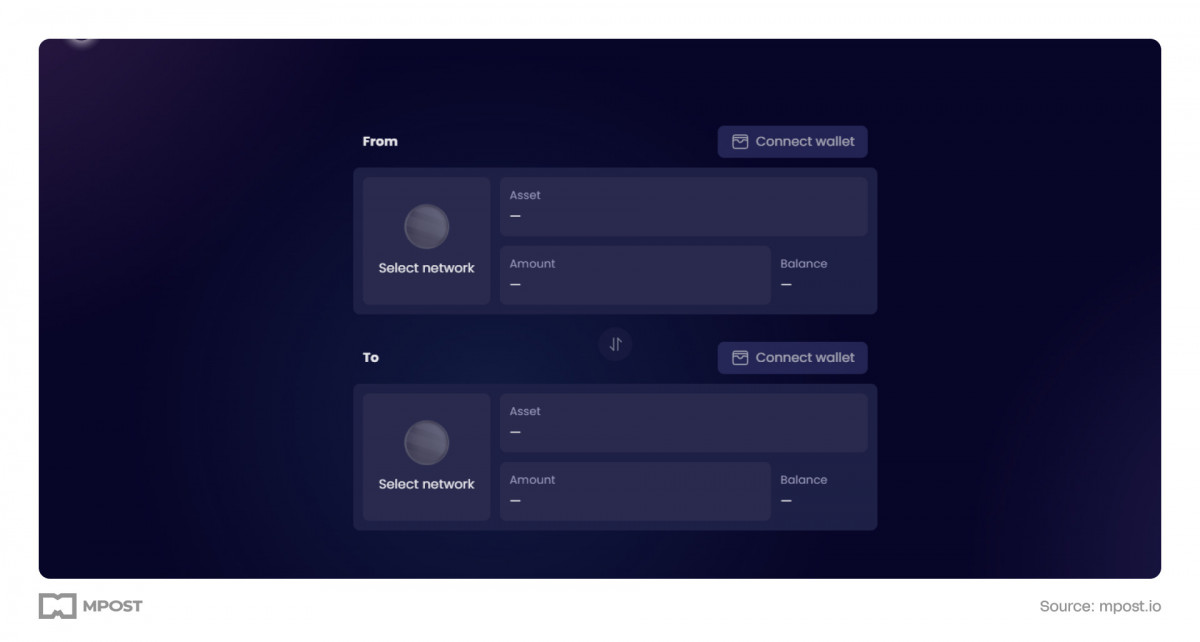
- This version offers a more intuitive interface for token bridging.

Step 3: Bridging Tokens from Binance Smart Chain (BSC) to Arbitrum
- Choose BSC as the source network and Arbitrum as the destination.
- Click “Connect” to link your wallet.
- If the wrong network is selected in your wallet, you’ll be prompted to change it.
- Select the token USDC input the amount to bridge (e.g., 100 tokens), and click “Next”.
- You’ll be prompted to switch networks to Arbitrum. Switch the network and click “Next”.
- Approve the transfer of 100 tokens and confirm the transaction.
- After the transfer completes, click “Redeem Tokens” and sign the transaction in Arbitrum to claim your tokens.
Step 4: Bridging Tokens from Arbitrum to Solana
- Ensure you have a Phantom wallet set up and logged in with notifications enabled.
- Connect your wallet in the Arbitrum network.
- Select the USDC tokens you claimed in Arbitrum.
- Input the amount to bridge, then click “Next”.
- Connect your Solana wallet (Phantom wallet).
- Click “Create Token Account” and confirm the creation in the Phantom wallet.
- Approve the transfer in Arbitrum and wait for the transaction to complete.
- If the “Redeem Tokens” button is not visible, use the “Redeem” tab and enter the transaction hash to recover it.
Step 5: Bridging Tokens from Solana to Aptos
- Choose Aptos as the destination network.
- Connect your Solana wallet (Phantom) and select your token (USDC).
- Input the amount to bridge and click “Next”.
- Connect your Aptos wallet (Martian Wallet) and ensure it has a small amount of funds for fees.
- Approve the transfer and wait for the transaction to complete.
- Click “Redeem Tokens” to claim your tokens on Aptos.
Step 6: Bridging Tokens from Aptos to Polygon
- Select Aptos as the source and Polygon as the destination network.
- Connect your Aptos wallet and select your token.
- Input the amount to bridge and click “Next”.
- Connect your Polygon wallet (MetaMask).
- Approve the transfer and confirm the transaction.
- Click “Redeem Tokens” to claim your tokens on Polygon.
Step 7: Bridging Tokens Back to Binance Smart Chain
- If your tokens do not display correctly, add them by their address.
- Transfer tokens from Polygon to Solana, then Solana to Arbitrum, and finally from Arbitrum back to Binance Smart Chain.
- This process ensures you end up with the same amount of tokens, minus transaction fees.
Disclaimer
In line with the Trust Project guidelines, please note that the information provided on this page is not intended to be and should not be interpreted as legal, tax, investment, financial, or any other form of advice. It is important to only invest what you can afford to lose and to seek independent financial advice if you have any doubts. For further information, we suggest referring to the terms and conditions as well as the help and support pages provided by the issuer or advertiser. MetaversePost is committed to accurate, unbiased reporting, but market conditions are subject to change without notice.


